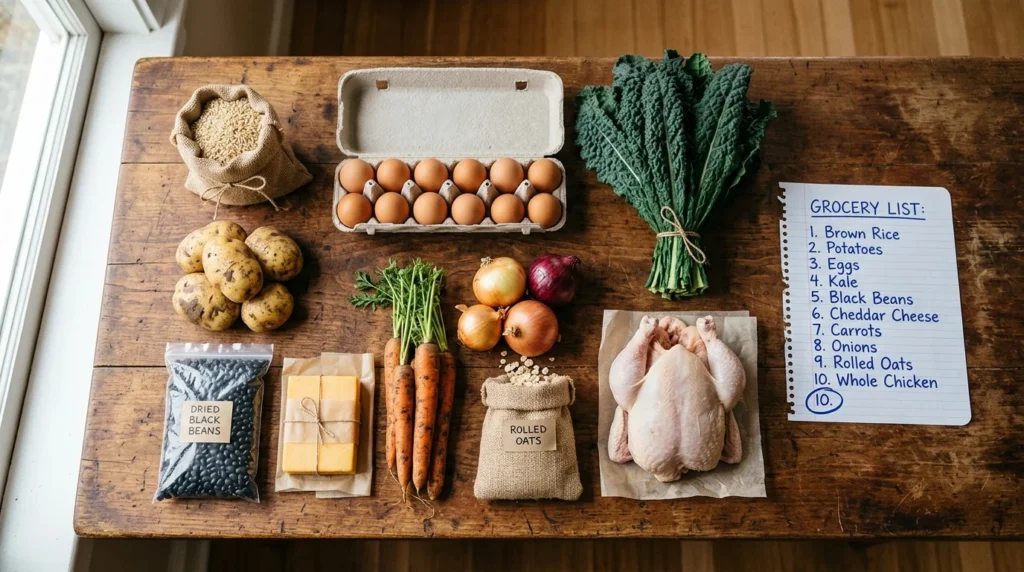
Building a robust home emergency kit does not require wiping out your savings or purchasing inflated commercial survival packs online. You can shield your household from unexpected natural disasters, prolonged power outages, and municipal water disruptions by gathering affordable, high-utility items over time from your local grocery or discount store. According to recent survey data from the Federal Reserve, millions of American households struggle to cover unexpected expenses, making low-cost preparedness strategies vital for long-term financial security. By prioritizing practical items that cost under ten dollars each, you will create a resilient safety net that protects both your family and your hard-earned budget during sudden crises.
The Financial Reality of Disaster Preparedness
Financial strain is an everyday reality for middle-income families, making traditional disaster advice feel detached from weekly budgeting constraints. When survival experts recommend purchasing expensive tactical gear and specialized freeze-dried meal buckets, budget-conscious households frequently delay emergency planning. However, ignoring disaster preparedness leaves your family vulnerable to compounding financial shocks during unexpected weather events. Power blackouts spoil expensive groceries, municipal water main breaks trigger panic buying, and minor physical injuries become high urgent care bills without basic medical supplies.
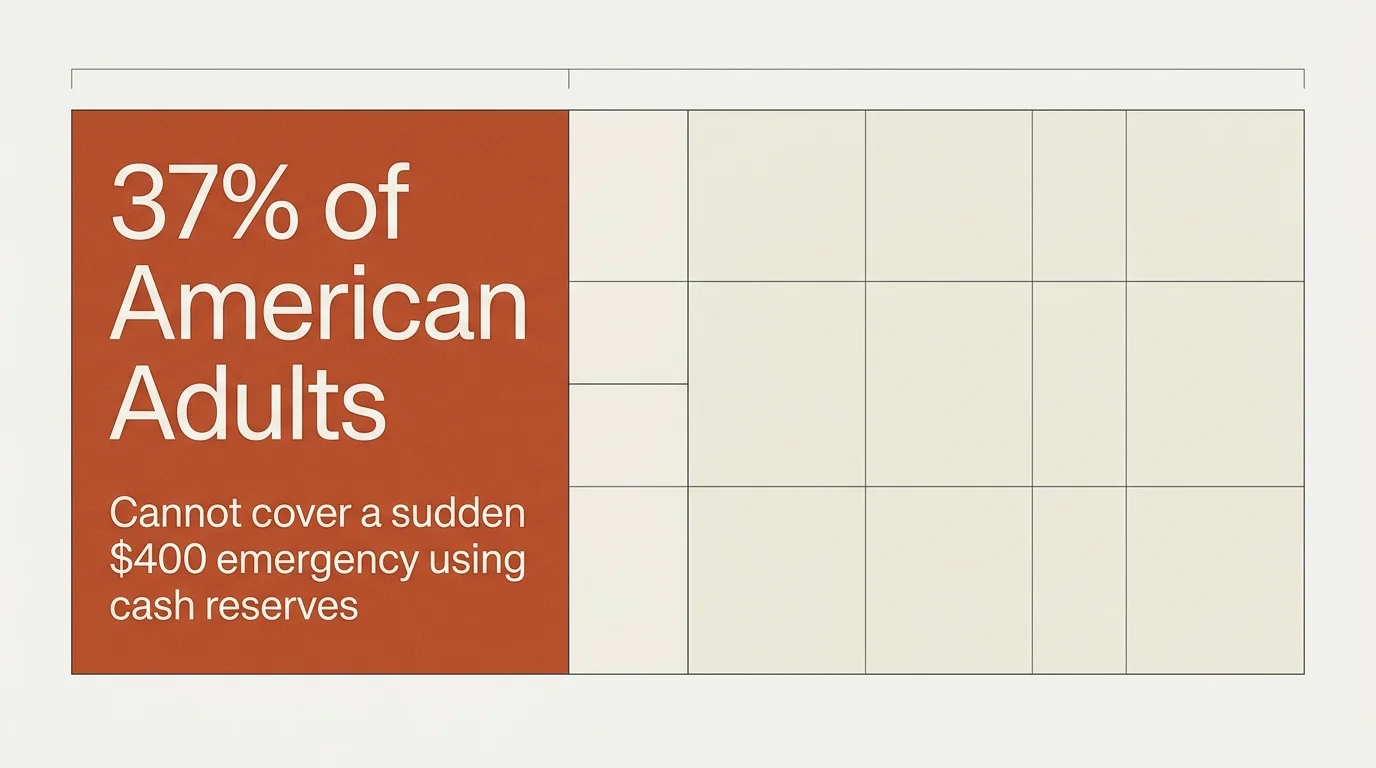
Data from the Federal Reserve report on household economic well-being reveals that thirty-seven percent of American adults cannot cover a sudden four-hundred-dollar emergency using cash reserves. Mandating that families spend hundreds upfront on commercial disaster kits creates an artificial barrier to safety. Guidelines published in the Consumer Financial Protection Bureau emergency guide highlight that physical asset readiness and financial security go hand-in-hand. Combining low-cost physical items with small budget tweaks provides your household with comprehensive security against severe weather disruptions.
10 Low-Cost Disaster Prep Essentials
You do not need to visit specialized outdoor retailers to build an effective emergency response kit. The following ten inexpensive items deliver maximum utility during utility outages, severe storms, or sudden shelter-in-place orders, while keeping your grocery bill entirely manageable.
1. Heavy-Duty Plastic Trash Bags and Zip Ties
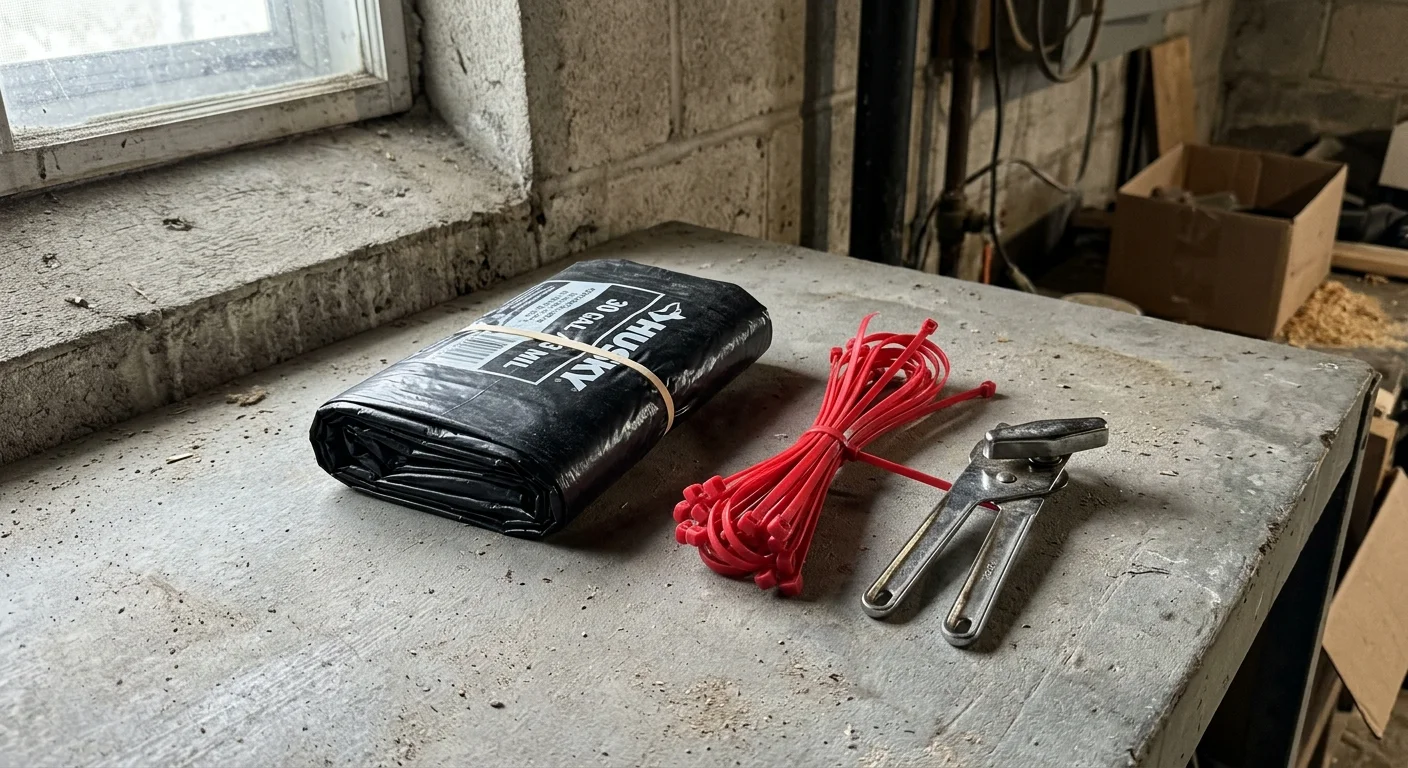
Heavy-duty contractor trash bags paired with industrial zip ties represent a versatile safety investment for under ten dollars. During severe coastal storms, you can tape contractor bags over broken window panes to prevent water damage and seal out cold air. If municipal sanitation services collapse or water stops running during blackouts, lining indoor toilets with plastic bags provides an immediate, hygienic waste management solution. Cutting head and arm holes into a bag yields a durable waterproof poncho. Zip ties secure loose tarps, bundle essential cables, and fasten shelter flaps without relying on adhesives that dissolve when wet.
2. Manual Can Opener
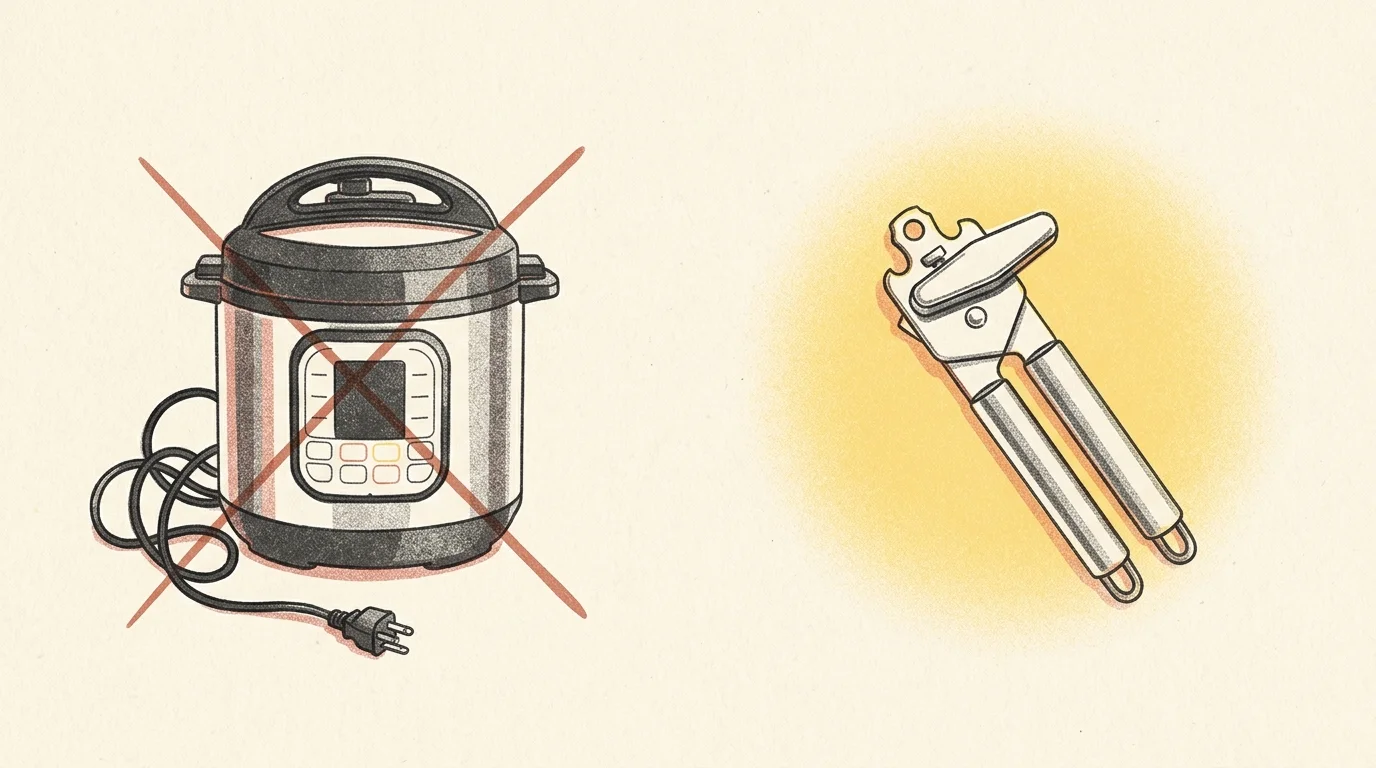
Building a pantry supply of non-perishable canned beans, meats, and vegetables is a foundational survival strategy, yet those vital calories remain locked away if a power grid failure disables your main electric appliance. A stainless steel manual can opener costs between three and six dollars at any grocery store. Electric counter openers fail instantly during power blackouts, and attempting to pry open metal cans with kitchen knives frequently results in severe hand lacerations. Stashing a dedicated manual opener directly inside your emergency supply container guarantees safe access to essential food reserves without relying on electricity.
3. Unscented Household Liquid Bleach and Eye Dropper
A standard gallon jug of plain, unscented household liquid chlorine bleach costs roughly three dollars and serves as an unmatched tool for safe water purification and surface sanitation. Major flooding and infrastructure failures routinely prompt municipal boil-water advisories. By using a basic eye dropper to add eight drops of six-percent unscented liquid bleach to one gallon of clear water, mixing thoroughly, and waiting thirty minutes, you render the water safe for consumption. Beyond drinking water purification, diluted bleach solutions sanitize food preparation surfaces and medical equipment when clean running water is unavailable. Replace your bleach supply annually for full potency.
4. Emergency Mylar Thermal Blankets
Compact Mylar thermal blankets—frequently called space blankets—reflect up to ninety percent of radiating body heat back to the user. You can purchase multi-packs containing four to six Mylar blankets for under eight dollars total. Exposure and hypothermia represent major health risks during cold-weather grid failures or sudden evacuations in wet conditions. Because these folded sheets take up minimal space, you can easily distribute them across emergency kits, glove compartments, and school backpacks. Beyond personal warmth, you can tape reflective Mylar sheets across sunny windows to block intense summer heat or line emergency sleeping areas to retain indoor radiant warmth.
5. Battery-Operated or Hand-Crank NOAA Weather Radio
When severe weather downs electrical towers and overwhelms local cellular networks, smart devices lose connectivity. A standalone battery-operated or hand-crank National Oceanic and Atmospheric Administration weather radio provides direct, real-time access to official emergency alerts and severe weather warnings. Federal standards published on the Ready.gov official emergency kit guidelines identify a dedicated weather radio as an essential element of home emergency plans. Inexpensive basic models cost between twelve and twenty dollars, operating independently from cellular networks. Choosing a model equipped with an integrated solar panel or manual hand crank ensures continuous access to emergency broadcasts.
6. Industrial Duct Tape and Plastic Sheeting
Combining a roll of heavy-duty industrial duct tape with a roll of clear plastic painter sheeting creates an adaptable structural repair kit for less than twelve dollars total. If storm winds shatter a windowpane, taping heavy plastic sheeting across the opening prevents water intrusion and stops cold drafts immediately. Industrial duct tape also repairs torn tents, patches cracked plastic water containers, seals air leaks around drafty doors, and fixes damaged footwear. In shelter-in-place scenarios involving dangerous dust or hazardous airborne contaminants nearby, sealing windows and HVAC vents with plastic sheeting creates a safe protected zone inside your home.
7. Glow Sticks and Mini LED Flashlights
While traditional candles seem like an obvious lighting choice during blackouts, open flames carry significant fire risks, especially following earthquakes or storms where undetected gas line leaks exist. Inexpensive chemical glow sticks and compact LED flashlights deliver safe, cool illumination for a tiny upfront expense. Chemical glow sticks cost roughly one dollar each, operate for up to twelve hours without electricity, and provide excellent ambient night lighting for children rooms, stairwells, and hallways. Compact LED flashlights consume minimal battery power while delivering bright, focused light for navigating dark workspaces or inspecting home property damage safely.
8. Petroleum Jelly and Pure Cotton Balls
Pairing a two-dollar jar of standard petroleum jelly with a one-dollar bag of pure cotton balls creates a highly reliable fire-starting system alongside versatile skin care protection. Thoroughly coating a cotton ball with petroleum jelly creates a slow-burning tinder plug that catches fire instantly from a spark and burns steadily for several minutes, even in damp outdoor conditions. Beyond lighting camp stoves or fireplaces when heating systems fail, petroleum jelly acts as an effective barrier salve for chapped skin, windburn, small scrapes, and minor burns. Keeping these low-cost pharmacy staples together gives your household dual functionality.
9. Small-Denomination Cash and Coin Stash
Widespread electrical blackouts and telecommunications failures instantly disable electronic payment processing, credit card readers, and automated teller machines. When local grocery and hardware stores switch to emergency cash-only operations following severe weather, large bills like fifty or one-hundred-dollar notes cause friction because merchants rapidly run out of change. Stashing twenty to fifty dollars in small denominations—such as one, five, and ten-dollar bills along with quarters—ensures you can purchase emergency ice, fuel, or remaining pantry goods without hassle. Setting aside pocket change inside a waterproof container over a few weeks builds this crucial cash buffer painlessly.
10. Laminated Copies of Vital Family Documents
During sudden evacuations, searching through filing cabinets or attempting to load cloud-stored documents on dead smartphone batteries creates dangerous delays and severe stress. Creating physical color photocopies of driver licenses, passport pages, birth certificates, health insurance cards, property records, and critical prescription lists is a fundamental protection step. Sealing these documents inside clear laminating sheets or heavy-duty Ziploc freezer bags costs less than three dollars total. Having immediate physical access to essential documentation streamlines emergency shelter admissions, speeds up insurance claim filings, and verifies personal identity at medical facilities when computer networks are offline.
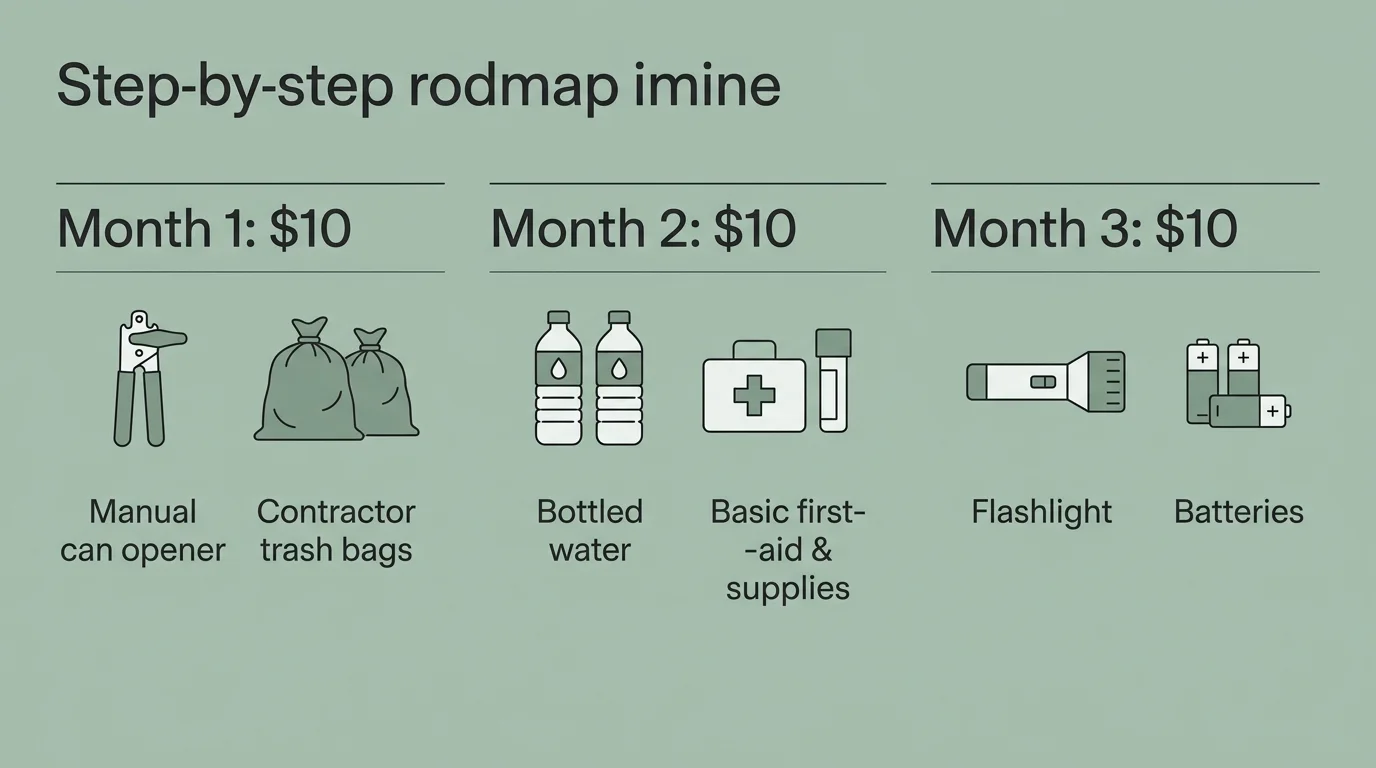
Action Lab: Building Your Kit on a $10-a-Month Budget
Creating a complete home emergency kit does not require setting aside a huge lump sum. You can easily spread the expense over six months by reallocating just ten dollars per month from your discretionary spending. In month one, purchase a manual can opener, heavy-duty contractor trash bags, and a pack of zip ties from a local discount store. During month two, buy liquid unscented bleach, an eye dropper, petroleum jelly, and cotton balls for under ten dollars total. In month three, allocate your ten dollars to a multi-pack of Mylar space blankets and several chemical glow sticks. In month four, buy heavy duct tape and plastic painter sheeting. Reserve month five for a budget-friendly NOAA weather radio, combining two months of your ten-dollar allocation if necessary. Finally, in month six, spend three dollars on laminating sheets for vital documents, placing remaining funds directly into your small-denomination emergency cash envelope.

Expert Insights on Practical Preparedness
Professional financial planners and emergency managers consistently emphasize that consistency beats perfection when preparing for unexpected disasters. According to safety guidelines maintained by the American Red Cross emergency supply list, the most effective emergency kit is organized, easily accessible, and tailored to your household specific needs. Financial counselors point out that buying basic, multi-use items incrementally prevents families from resorting to high-interest credit cards during sudden crises. By avoiding debt while accumulating practical supplies, you shield your safety and long-term financial health simultaneously.
Common Disaster Prep Mistakes to Avoid
One major pitfall in emergency planning is buying pre-assembled, expensive survival kits filled with low-quality tools and unfamiliar items that you may never use. Another frequent error involves storing emergency supplies in damp basements or hot attics where temperature extremes and humidity degrade plastic sheeting, ruin paper documents, and corrode batteries. Always keep your supplies in a cool, dry, centralized location, such as a closet shelf or portable storage tub. Lastly, avoid buying supplies and forgetting about them; schedule a quick semi-annual checkup every spring and fall to rotate perishable items and verify that flashlights and radios operate properly.
Frequently Asked Questions
How often should I check and rotate the items in my emergency kit?
Inspect your emergency kit twice a year, ideally when daylight saving time changes in spring and fall. Check expiration dates on bleach, canned food, and medical salves, replacing items near expiration. Test flashlight and weather radio batteries, replacing disposable batteries if necessary, and ensure that laminated documents and emergency contact details remain up to date.
Where is the best place in my home to store an emergency kit?
Store your emergency kit in a cool, dark, and easily accessible location inside your home, such as a main hallway closet or under a bed. Avoid storing supplies in unheated attics, damp basements, or outdoor sheds, where extreme moisture and thermal fluctuations degrade plastic items, corrode electronics, and spoil stored goods.
Are expensive pre-made emergency survival kits worth buying?
For most middle-income households, pre-made survival kits are not worth the premium price tag. Commercial kits often contain cheap, single-use tools, poor-tasting rations, and unneeded items, while charging significant markups. Assembling your own kit using low-cost store items gives you higher-quality supplies customized specifically to your family needs for a fraction of the price.
How much cash should I keep inside my home emergency kit?
Keeping between fifty and one hundred dollars in small denominations—such as one, five, and ten-dollar bills along with quarters—is sufficient for most short-term emergency needs. Avoid keeping large bills or excessive cash reserves inside your physical kit; focus on having small bills to buy essential ice, fuel, or water when electronic payment systems go offline.
Empower Your Household Today
Disaster preparedness is not an all-or-nothing financial commitment reserved for high earners. By making deliberate, budget-friendly choices today, you safeguard your loved ones against sudden grid disruptions and natural hazards without compromising your monthly living standards. Take immediate action this week by purchasing just one inexpensive item on this list during your next grocery trip. Small, steady steps build true resilience, giving you total confidence that your household is ready for whatever comes next.